I had previously installed the debian
package of MaxDB. I didn't like that it operated so differently from
how the documents described it, so I am documenting my experience
installing a stock version of MaxDB.
If you don't have sudo installed, please read my
entry on installing sudo here:
http://www.livejournal.com/users/cjcollier/150455.html?mode=reply
Installing MaxDB does require root privileges, which can be provided using sudo in many cases.
We have confirmed that this process will result in a running install of the Synchronization Manager on Debian GNU/Linux i386, 32-bit and SuSE GNU/Linux i386, 32-bit. These documents do not cover the installation of this software on Windows, but will likely work on any flavor of 32-bit i386 Linux including Redhat, Ubuntu, Slackware, Mandrake, Novel, etc. A small amount of research will show you how to install in a 64-bit environment.
Please note that I use the Metamark URL shortening service throughout these articles to shorten long URLs to something that will fit on the line with the rest of my commands. You can learn more about Metamark and its service here: http://metamark.net/. I will let you know where the URL will redirect you to when I use these.
Get the software from dev.mysql.com
http://dev.mysql.com/downloads/maxdb/7.6.00.html
cjcollier@karma:~/mysql/maxdb$ wget http://xrl.us/g3bd # MaxDB software from dev.MySQL.com
Unpack the software
cjcollier@karma:~/mysql/maxdb$ tar xfz maxdb-all-linux-32bit-i386-7_6_00_12.tgz
$ cd maxdb-all-linux-32bit-i386-7_6_00_12
Run the graphical installer
Before starting the graphical installer, make sure you have X configured to forward the $DISPLAY to your local system. Your $DISPLAY variable is likely to be set to :0.0, but confirming the value of the variable is a good way to verify that X is running.
cjcollier@karma:~/mysql/maxdb/maxdb-all-linux-32bit-i386-7_6_00_12$ echo $DISPLAY
$ sudo ./SDBSETUP
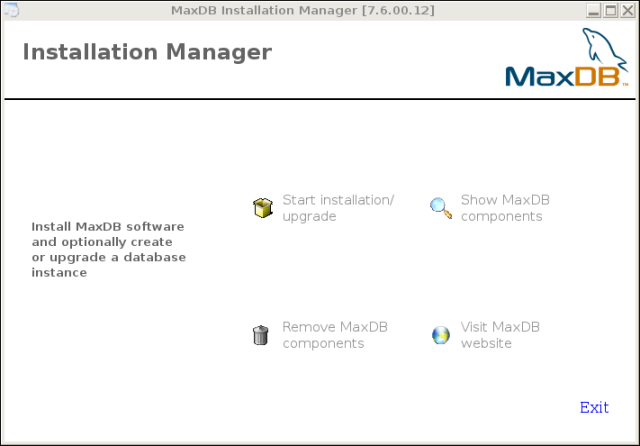
Here, we select "Start installation/upgrade" in order to get the installation underway. You may select Show MaxDB components to display the packages available for installation and already installed. You may also delete installed components and visit the MaxDB website.
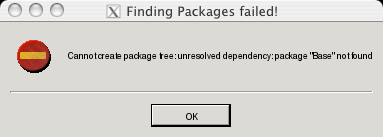
If you receive this error, read this entry to circumvent it.
$ sudo apt-get install libc6If this doesn't work for you, try this:
http://lists.mysql.com/maxdb/25707
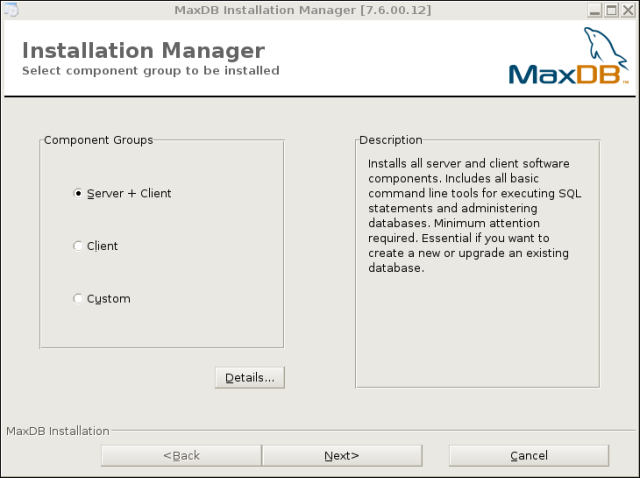
Here, we select Server + Client in order to install the MaxDB server along with the tools for daily usage, including the Synchronization Manager.
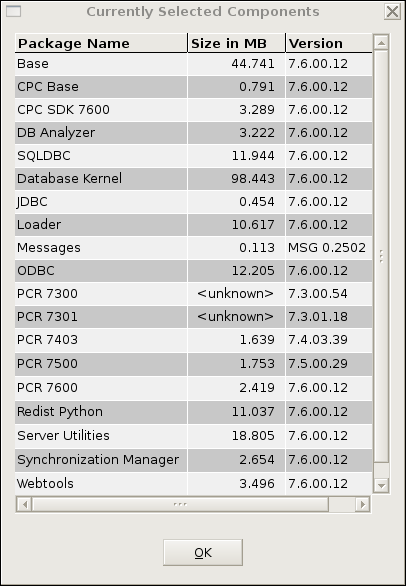
You can see here the client software that will be installed along with the server. Some key components are:
- SQLDBC
  * This is the C library for programmatic access to MaxDB.
- JDBC
  * Much like SQLDBC, but for the Java programming language.
- Loader
  * This tool is used for mass import of a variety of data formats
- ODBC
  * This is the Open Database Connectivity library, the industry
    standard library for database connectivity.
- Synchronization Manager
  * The reason you are reading this article.  This tool synchronizes
    portions of databases using the Java Messanging Service.  The
    database access layer is system-agnostic and based on JDBC.
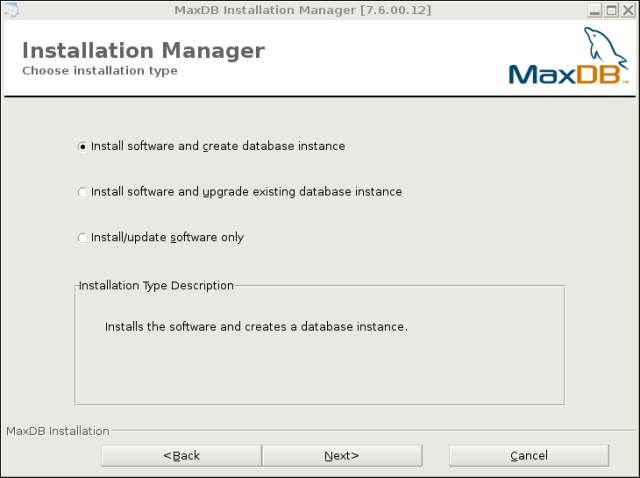
If you have not before installed MaxDB, I recommend selecting the top choice, "Install software and create database instance."
Otherwise, I suggest chosing "Install/Update software only" in order to bring your software up to date with the minimum of effort. If you wish to update your existing database instance in the future, you may do so by re-running this installer.
I will assume you have chosen the first option. The second option provides a trivial completion procedure. " />
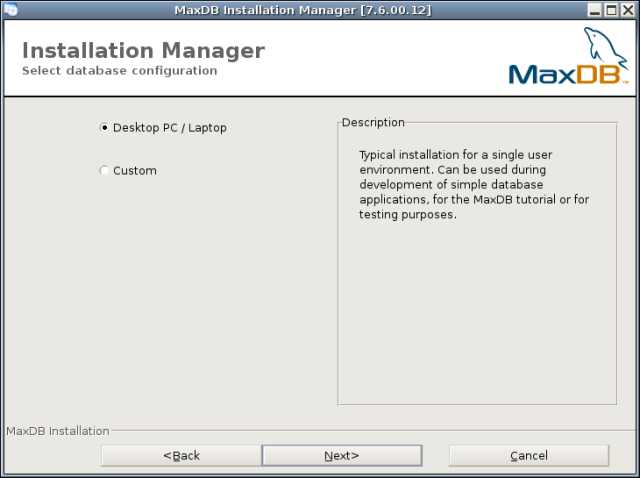
For this installation, I suggest chosing PC / Laptop. This installs the most common pieces of software along with the database.
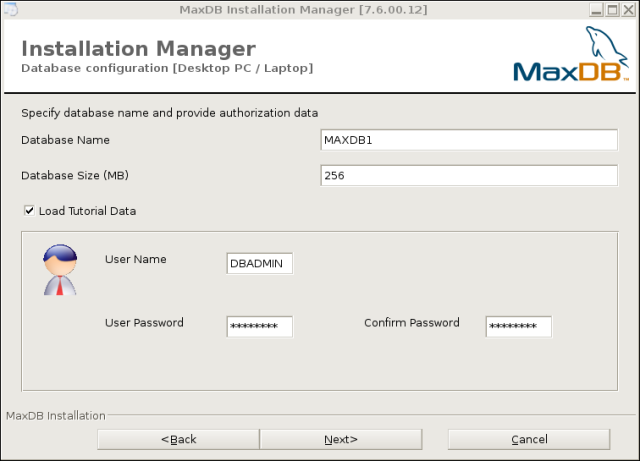
Leave the database name, size and username values as they are. Throughout the articles, I will assume that the password has been set to simply 'password'.
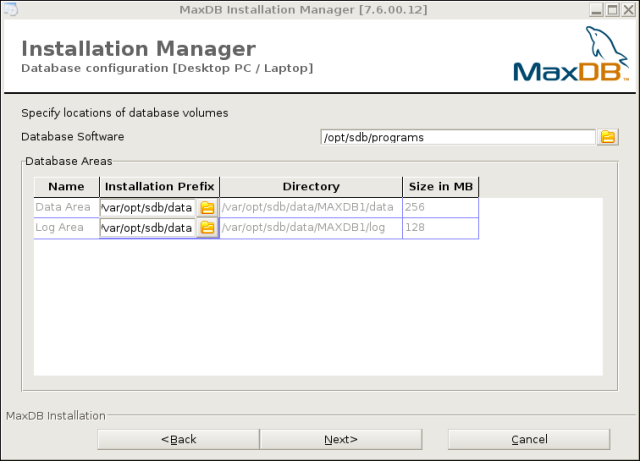
The database software may be left as /opt/sdb/programs, and the installation prefix may be left as /var/opt/sdb/data ; I will assume that these values were used throughout the articles.
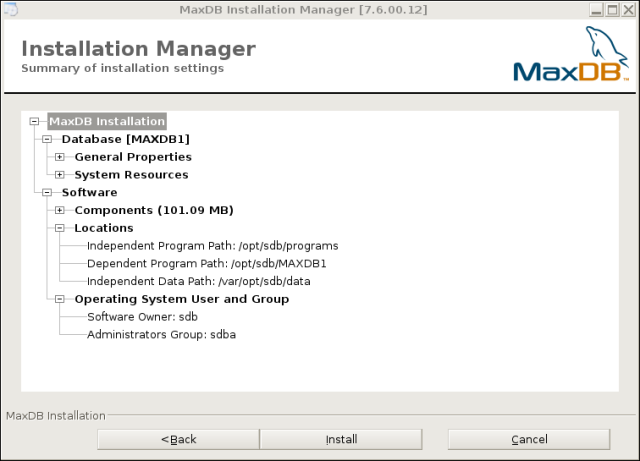
You are presented with an outline of the installation overview. If the settings seem correct to you, continue with the installation by pressing the "Install" button.
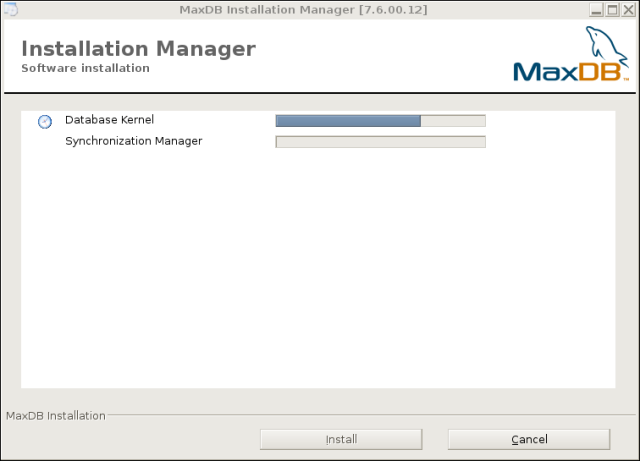
The installer proceeds to copy the files to the destinations previously selected. Patience...
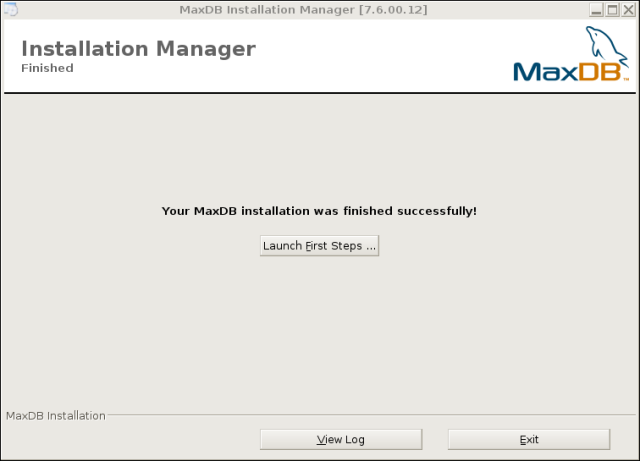
When the installer completes its process, you are presented with a dialog prompting you to Launch the First Steps. You may safely ignore this, as this set of articles will cover the next steps more succinctly.
This process is continued in MaxDB Synch Manager, Part II.


