- 2.3 Monitor Agent Installation
- 2.3.1 Creating a MySQL User Account for the Monitor Agent
- 2.3.2 Installing the Agent on Microsoft Windows
- 2.3.3 Installing the Agent on Mac OS X
- 2.3.4 Installing the Monitor Agent on Unix
- 2.3.5 Starting/Stopping the MySQL Enterprise Monitor Agent
- 2.3.6 Advanced Agent Configuration
- 2.3.7 Troubleshooting the Agent
To install the MySQL Enterprise Monitor Agent on Mac OS X, decompress the
mysqlmonitoragent-
and then run the
version-installer.app.zipmysqlenterpriseagent-
application.
version-installer
-
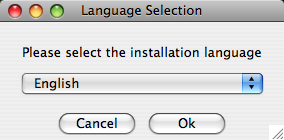
First, select the language for the MySQL Enterprise Monitor Agent installation. Click OK to continue installation.
Click Next to start the installation process.
-
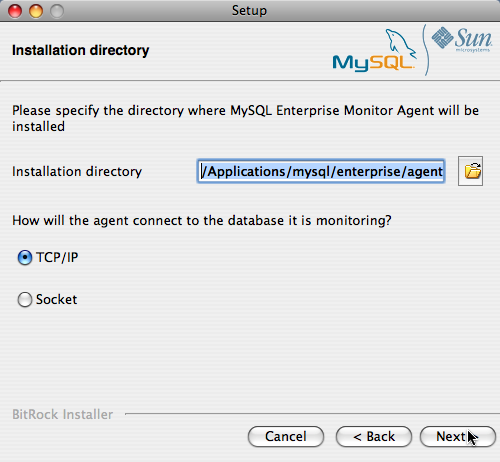
Select the installation directory. The default installation directory is
/Applications/mysql/enterprise/agent. Select the installation directory, or type the new directory location.You also need to select the method that the agent will use to communicate with the MySQL server. You can choose either to use a TCP/IP (network) connection, or a Socket (local) connection. Choose the connection method, and click Next.
Note
The monitor agent always associates “localhost” with the TCP/IP address 127.0.0.1, not the MySQL socket. This is in contrast to the MySQL Command Line Tool, which connects via the MySQL socket by default on Unix, if the hostname “localhost” is specified.
If the MySQL server you wish to monitor has been started with the
--skip-networkingcommand option then you will not be able to connect to it via TCP/IP, as the server will not listen for TCP/IP connections. In this case the monitor agent will need to be configured to use the MySQL socket. This can be done during installation by selecting “socket” rather than “TCP/IP” and then specifying the MySQL socket name. This can also be configured after installation by editing theagent-instance.iniconfiguration file, for further information on this refer to Section 2.3.6.2, “MySQL Server (agent-instance.ini) Configuration”.If the MySQL server to be monitored has been started using the command option
--bind-addressthen the server will only listen for connections on the IP address specified, that is, the IP address of the MySQL server. If the monitor agent has been started using TCP/IP networking and the default address of 127.0.0.1 it will not be able to connect to the server to be monitored. Also, if “localhost” is specified as the host name during agent configuration, a connection will not be established, as the server will be listening for connections on the address specified with the--bind-addressoption, not 127.0.0.1. -
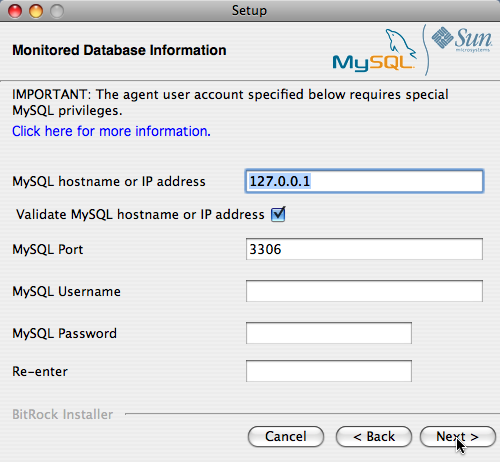
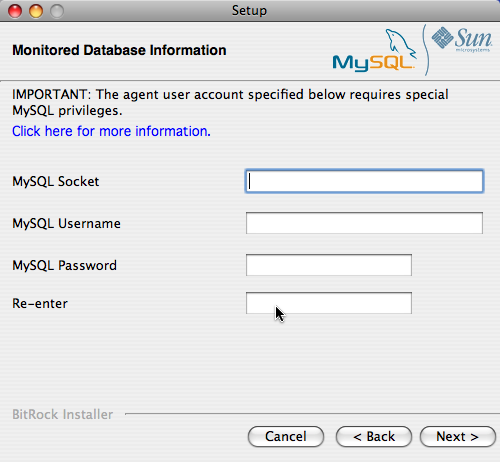
You need to specify the information about the MySQL server that you want to monitor. The configuration information you enter will depend on the connection method selected in the previous screen.
-
If you chose TCP/IP as the connection method, you must enter the IP address or host name of the host you want to monitor, and the port, user name and password that you will use to connect to the MySQL server. If you want to confirm that the MySQL server is currently reachable using the information, ensure that the Validate MySQL host name or IP address checkbox is selected.
-
If you chose Socket as the connection method, you must enter the full path name to the Unix socket created by your MySQL server, and the user name and password that will be used to authenticate with the server. Typical values include
/tmp/mysql.sockand/var/mysql/mysql.sock.
Click Next to continue the installation.
-
-
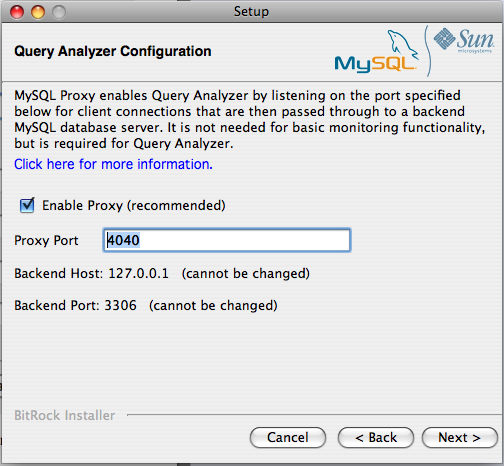
If you want to use Query Analyzer, then you need to enable the MySQL Enterprise Monitor Agent Proxy. The Proxy is enabled by default. If you disable the Proxy during installation, you will need to enable it later before you are able to use Query Analyzer. For more information on Query Analyzer, see Chapter 9, The Query Analyzer Page.
When Proxy is enabled, MySQL Enterprise Monitor Agent listens on a network port for client applications, and forwards the connections to the backend MySQL server. You can change the port number that MySQL Enterprise Monitor Agent listens for connections The default port is 6446.
-
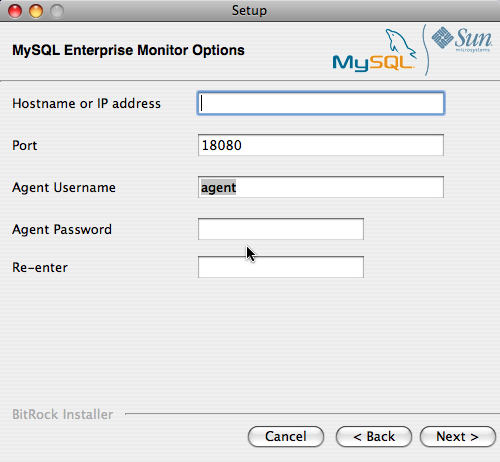
The MySQL Enterprise Service Manager that you want to use must be configured during installation. The host name, port and agent authentication information must be entered. If you have already installed MySQL Enterprise Service Manager then you can locate the information in the installation report file created during installation. Enter the required information and then click Next to continue.
You will be provided with a Configuration Report containing the information that you have entered during the installation. Check the information provided in the report. If you see a problem, use Back to go back to the configuration screen and change the information. If the information is correct, click Next to continue.
You are given a final opportunity to change the installation parameters. Click Next to start the installation process.
Once the agent has been installed, you will get a confirmation message. Click Next to finalize the installation.
You can start the MySQL Enterprise Monitor Agent automatically now the installation has been completed. To allow the agent to be started, leave the checkbox selected. To start the agent separately, uncheck the checkbox. Click Finish to exit the installation.
Once the Monitor Agent is installed, it needs to be started. For information on how to start and stop the Agent, see Section 2.3.5.2, “Starting/Stopping the Agent on Mac OS X”.

