- 21.2.3 Connector/NET Visual Studio Integration
- 21.2.3.1 Making a connection
- 21.2.3.2 Editing Tables
- 21.2.3.3 Editing Views
- 21.2.3.4 Editing Stored Procedures and Functions
- 21.2.3.5 Editing Triggers
- 21.2.3.6 Editing User Defined Functions (UDF)
- 21.2.3.7 Cloning Database Objects
- 21.2.3.8 Dropping Database Objects
- 21.2.3.9 Using the ADO.NET Entity Framework
- 21.2.3.10 MySQL Website Configuration Tool
[+/-]
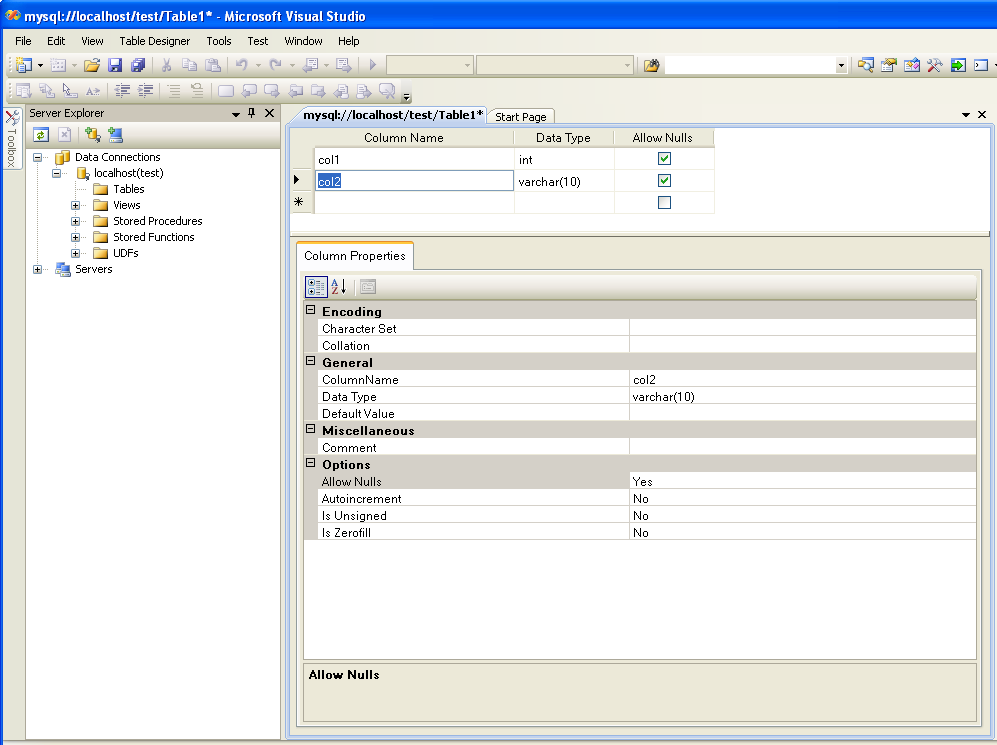
Connector/Net contains a table editor, which enables the visual creation and modification of tables.
The Table Designer can be accessed through a mouse action on table-type node of Server Explorer. To create a new table, right-click on the Tables node (under the connection node) and choose the Create Table command from the context menu.
To modify an existing table, double-click on the node of the table you wish to modify, or right-click on this node and choose the Design item from the context menu. Either of the commands opens the Table Designer.
The table editor is implemented in the manner of the well-known Query Browser Table Editor, but with minor differences.
Table Designer consists of the following parts:
Columns Editor - a data grid on top of the Table Designer. Use the Columns grid for column creation, modification, and deletion.
Indexes tab - a tab on bottom of the Table Designer. Use the Indexes tab for indexes management.
Foreign Keys tab - a tab on bottom of the Table Designer. Use the Foreign Keys tab for foreign keys management.
Column Details tab - a tab on bottom of the Table Designer. Use the Column Details tab to set advanced column options.
Properties window - a standard Visual Studio Properties window, where the properties of the edited table are displayed. Use the Properties window to set the table properties.
Each of these areas is discussed in more detail in subsequent sections.
To save changes you have made in the Table Designer, use either Save or Save All button of the Visual Studio main toolbar, or just press Ctrl+S. If you have not already named the table you will be prompted to do so.
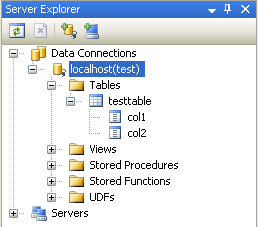
Once created you can view the table in the Server Explorer.
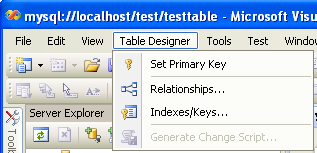
The Table Designer main menu allows you to set a Primary Key column, edit Relationships such as Foreign Keys, and create Indexes.
You can use the Column Editor to set or change the name, data type, default value, and other properties of a table column. To set the focus to a needed cell of a grid, use the mouse click. Also you can move through the grid using Tab and Shift+Tab keys.
To set or change the name, data type, default value and comment of a column, activate the appropriate cell and type the desired value.
To set or unset flag-type column properties (NOT
NULL, auto incremented, flags), check or uncheck the
corresponding check boxes. Note that the set of column flags
depends on its data type.
To reorder columns, index columns or foreign key columns in the Column Editor, select the whole column you wish to reorder by clicking on the selector column on the left of the column grid. Then move the column by using Ctrl+Up (to move the column up) or Ctrl+Down (to move the column down) keys.
To delete a column, select it by clicking on the selector column on the left of the column grid, then press the Delete button on a keyboard.
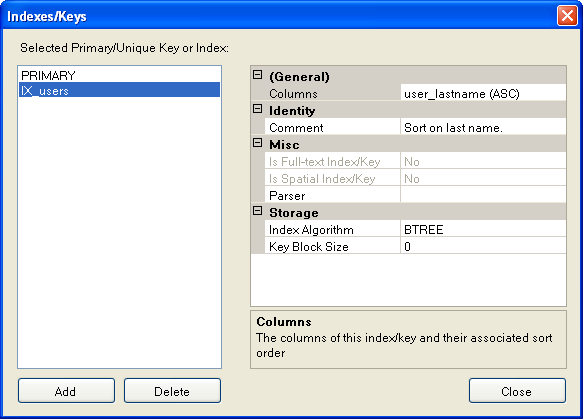
Indexes management is performed via the Indexes/Keys dialog.
To add an index, select Table Designer, Indexes/Keys... from the main menu, and click Add to add a new index. You can then set the index name, index kind, index type, and a set of index columns.
To remove an index, select it in the list box on the left, and click the Delete button.
To change index settings, select the needed index in the list box on the left. The detailed information about the index is displayed in the panel on the right hand side. Change the desired values.
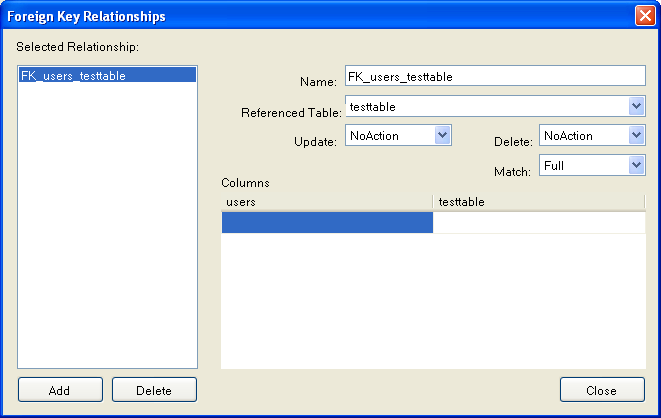
Foreign Keys management is performed via the Foreign Key Relationships dialog.
To add a foreign key, select Table Designer, Relationships... from the main menu. This displays the Foreign Key Relationship dialog. Click Add. You can then set the foreign key name, referenced table name, foreign key columns, and actions upon update and delete.
To remove a foreign key, select it in the list box on the left, and click the Delete button.
To change foreign key settings, select the required foreign key in the list box on the left. The detailed information about the foreign key is displayed in the right hand panel. Change the desired values.
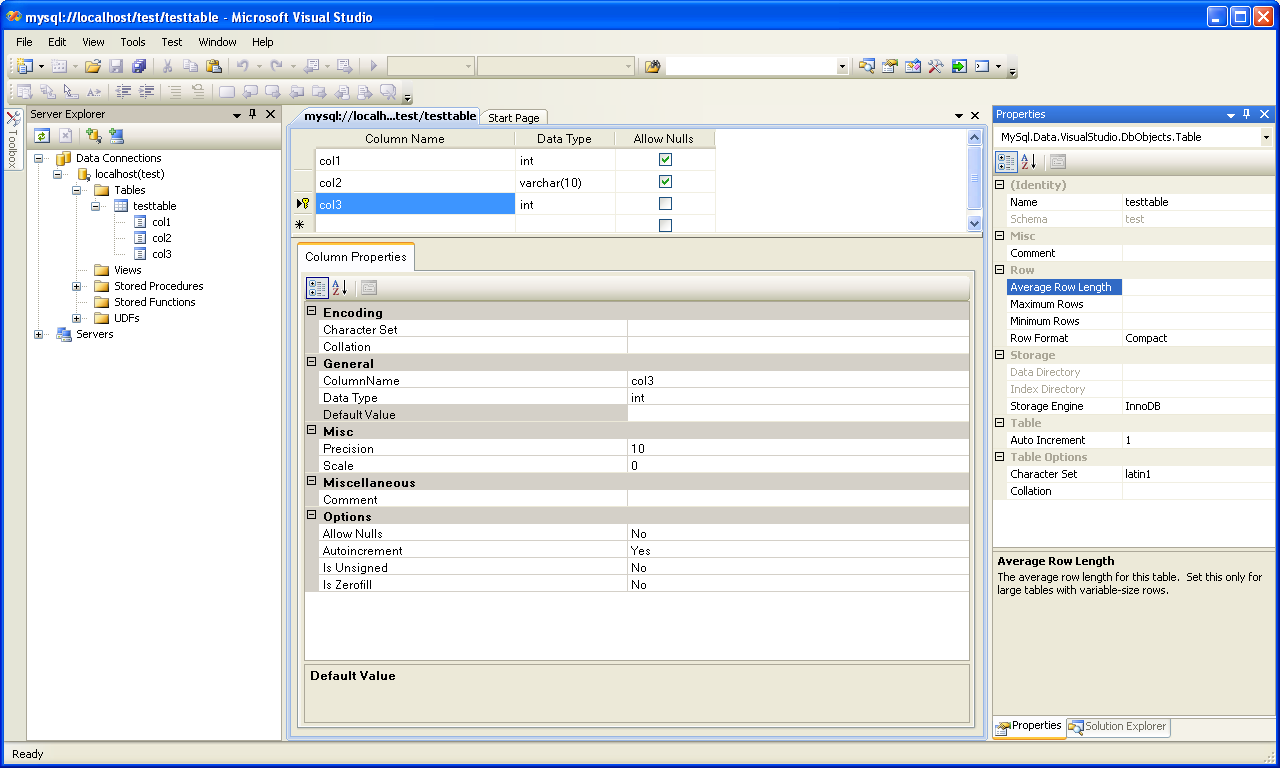
The Column Properties tab can be used to set column options. In addition to the general column properties presented in the Column Editor, in the Column Properties tab you can set additional properties such as Character Set, Collation and Precision.
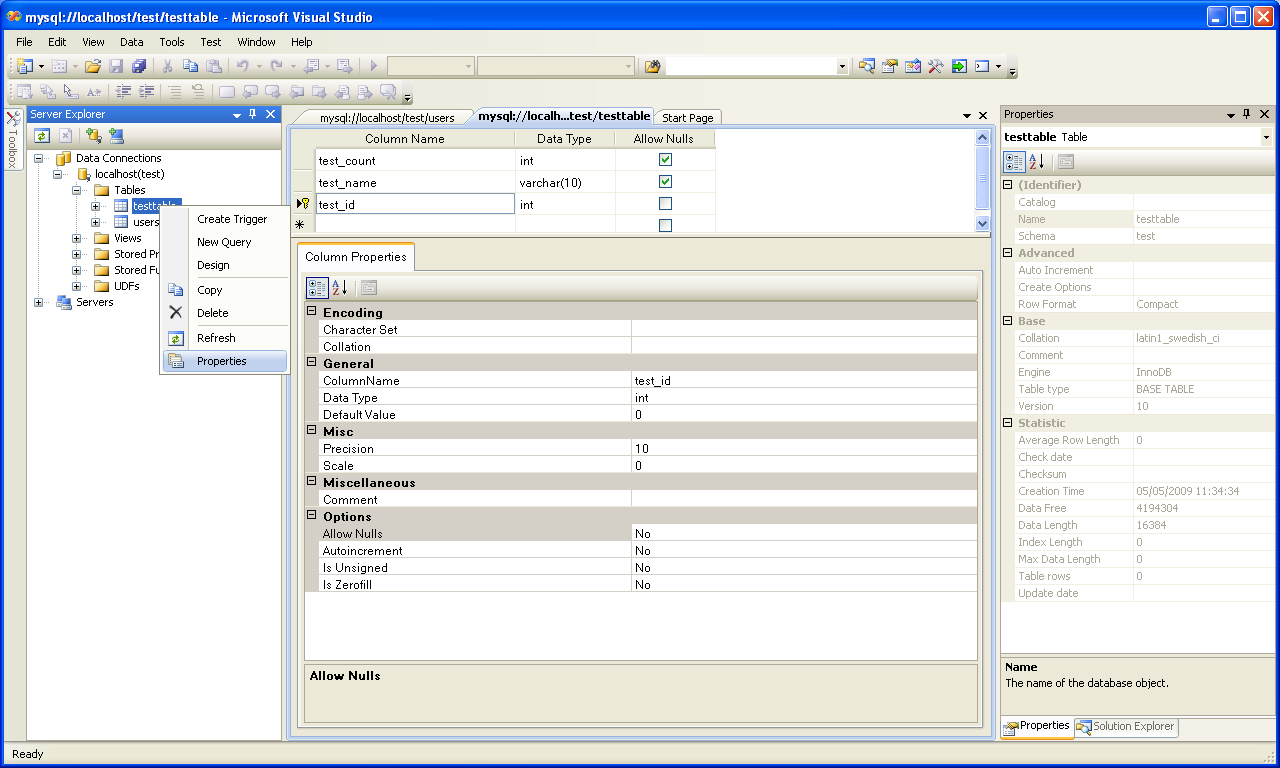
To bring up Table Properties select the table and right click to activate the context menu. Select Properties. The Table Properties dockable window will be displayed.
The following table properties can be set:
Auto Increment
Average Row Length
Character Set
Collation
Comment
Data Directory
Index Directory
Maximum Rows
Minimum Rows
Name
Row Format
Schema
Storage Engine
The property Schema is read only.


User Comments
Add your own comment.