|
Manage Templates
This tutorial has information about managing templates. You can save templates
in any folder of your choice. For this tutorial, the My Documents and My Templates folders will be used.
How To Create A New Default Template
You will want to save your preferences for the page layout to replace the
default template in effect when you first downloaded OpenOffice.
-
Create a document with the content, formatting styles, the font name and
the font size of your choice.
-
Click File > Templates > Save.
-
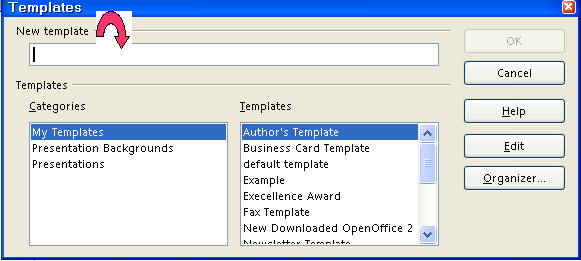
In the New template box, type a name for the new template.
-
Click Organizer. (The “Organizer” button is the last button on the right.)
-
Double-click on My Templates. (A list of the saved templates appears.)
-
Right-click on the template that you created (A menu appears.). Choose
Set as Default Template.
-
Click Close. (The “Templates” window closes.)
-
When you click on File > New > Text Document, the choices you made in Step 1 will be in effect.
Save A Template In The "My Documents" Folder
-
Click File > New > Text Document. ( appears.) appears.)
-
Type I am learning to manage Templates.
-
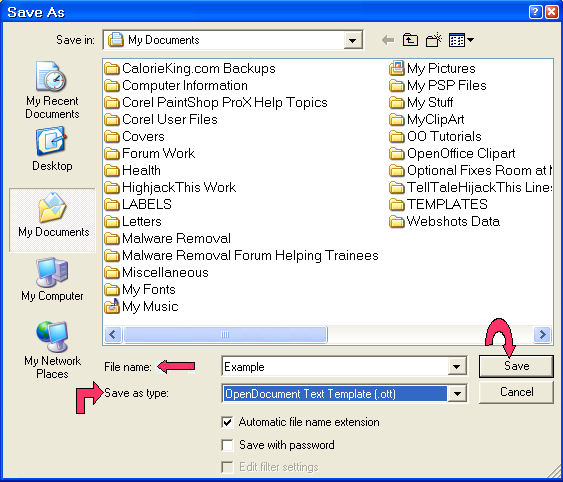
Click File > Save As. (The “Save As” window appears. Only the documents with the
template extension (.ott) will appear in the list below the “Save
In:” box.) In the Save in: pull-down menu box, click My Documents (if it is not already selected). In the Save as type: pull-down menu box, click OpenDocument Text Template (.ott).
-
In File name: box, type Example. (The name of the file will be “Example”.)
-
Click on the Save button. (The document is still active on the screen.)
- Click File > Close. (The document is not on the screen.)
Edit A Template Saved In The "My Documents" Folder
-
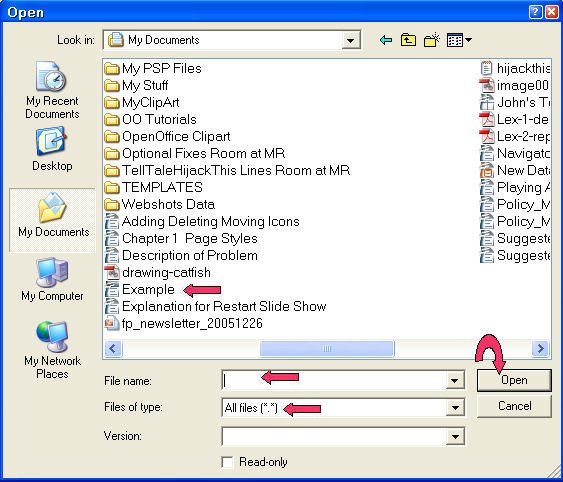
Click File > Templates > Edit. (The “Open” window appears.)
-
In the Look in: dialog box, click on the  and scroll until you can click the My Documents folder (if it is not already there). (In the "Files of type:"
menu box, you will see "All files [*.*]") and scroll until you can click the My Documents folder (if it is not already there). (In the "Files of type:"
menu box, you will see "All files [*.*]")
-
Click on the file, Example. Click the Open button. (The name of the file appears in the “File name:”
pull-down menu box. The template appears on the screen.)
-
Change the features of your choice.
-
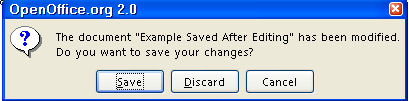
On the menu bar, click File > Close. > Save. (You will get the message below.)
-
When you click Save, the Save As window will appear. Follow the directions for Save A Template In The "My Documents" Folder in the previous exercise. You may save the template with the same name or you may choose
another name for the edited template.
Organize Templates / Import A Template From The "My Documents"
Folder
-
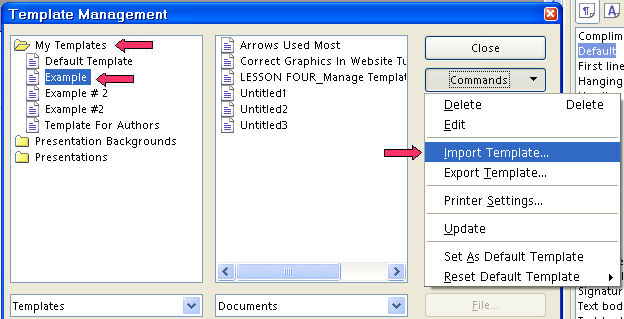
Click File > Templates > Organize. (The “Template Management” window appears.)
-
In the Template Management menu, double-click My Templates. (In the left Templates column, there are three folders: My Templates, Presentation Backgrounds, and Presentations.)
-
When a new Text Document is opened, the file “Untitled1” appears in the right Documents column. Click Commands. In the Commands pull-down menu. Click Import template.
-
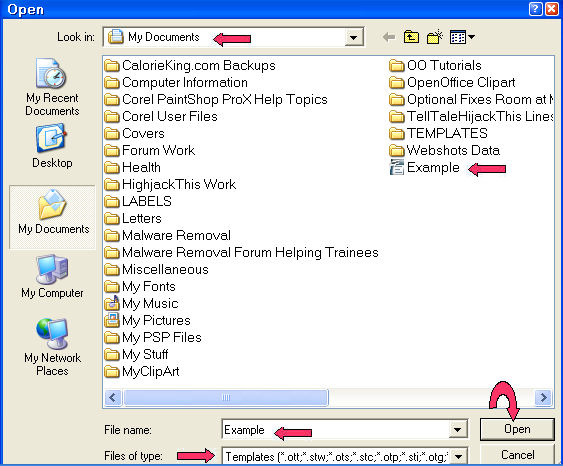
In the “Look in:” box, select My Documents. (The “Open” window appears. In the “Files of type:"
menu box, you will see "Templates [*.ott;*.stw;*.ots;*.stc;*.otp;*sti;*.otg;]".
These are the three letter extensions that indicate different types of
template files.)
-
In the My Documents folder, click on the template named Example. Click the Open button. (You will see in the "My Templates" folder that the
imported file, "Example". is there.)
-
Click Close. (The "Example" template is now in the "My Templates"
folder. The same name that was used in the "My Documents" folder
will be used here. The “original” template is still in the
“My Documents” folder. )
Save A Template In The "My Templates" Folder
-
Click File > New > Text Document. ( appears.)
-
Type You can also save the template in the "My templates" folder.
-
Click File > Templates > Save. (The “Templates” window appears.)
-
In the New template dialog box, type Example #2. (The name of the template will be “Example #2”.)
- Under Categories, click My Templates (if it is not already selected). Click OK. (The "Example #2" is no longer on your screen.)
Edit A Template Saved In The "My Templates" Folder
-
Click File > Templates > Organize. (The "Template Management" window appears.)
-
Double-click My Templates. (A list of templates appears below “My Templates”.)
-
Click on the template that is to be edited. Click Commands on the right (The “Commands” menu appears.) In the pull-down
menu, click Edit.
-
Change the features of your choice.
-
Click Close. (You will get the message below.) 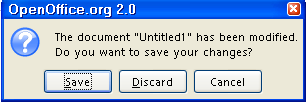
-
Click Save. (The changes made are saved in the template and will be present when you
use the template again.)
Delete A Template
In The My Documents Folder
-
For templates saved in the My Documents folder: click File > Open. (The "Open" window appears). Click My Documents. (In the "Files of type" menu box, you will see "All files
[*.*]".) Right-click on the name, Example. (The template file we want to delete. A menu appears.) Click Delete. (The "Confirm File Delete" window appears. )
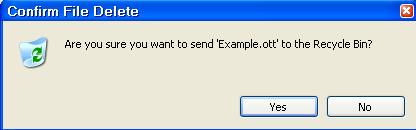
- Click Yes.
In The My Templates Folder
-
For templates saved in the My Templates folder, click File > Templates > Organize. (The “Template Management” window appears.)
-
Double-click My Templates.
-
Click on the template that is to be deleted. Click Commands. In the pull-down menu, click Delete. (You will get the message below.)

-
Click Yes > Close. (The Template Management window closes.)
NOTE
Tutorials are improved by input from users. We solicit your constructive
criticism.
Click here to E-mail your suggestions and comments
Edited by Sue Barron and George Hans
Manage Templates 11/18/06
Last modified: 2008-04-30 01:42 UTC
   
|

