|
Tutorial donated by Mike Sauer
Create Labels
Purpose
This tutorial introduces OpenOffice.org Draw for making small labels. We
cover creating a new document, creating Draw objects and changing their
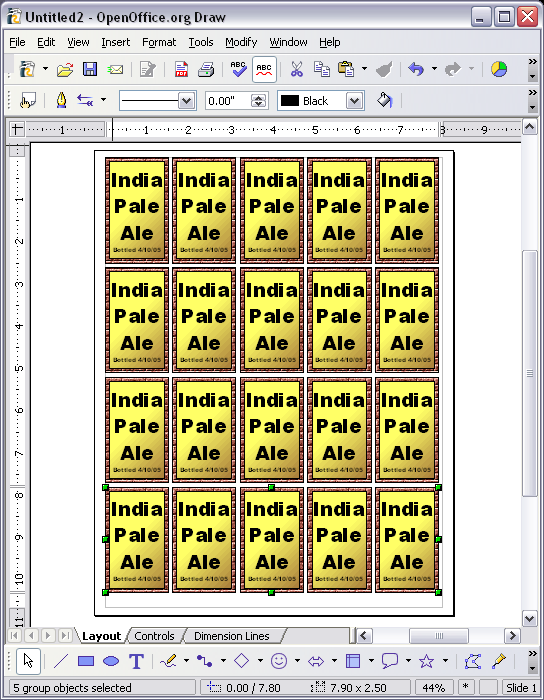
properties, and copying and pasting. The result will be 20 labels with
a gold appearance and a brick border.
Introduction
OpenOffice.org Draw is a vector-based drawing program rather than a raster-based
program. This means Draw is created of distinct objects that can individually
be selected and manipulated. In contrast, raster-based programs, like MS
Paint or the Gimp, store pixels. In a vector-based program, a line is defined
by as a starting point, an ending point, and a color. You can change the
color and other properties after creating the line. In contrast, a line
in a raster-based program is simply a series of pixels and cannot readily
be changed once created.
Objects are anything created in a drawing. Objects have position, orientation,
color properties, etc. Several objects can be grouped together and the
group can be relocated, scaled, etc.
Many objects can have a text label as well. By default, these text labels
are centered vertically and horizontally within the object. The text can
have different color, position, font, and size properties.
Creating Labels
Learn by Example: We are going to create a small drawing and repeat it twenty times to
make labels. These are labels for home-brew beer bottles. I want each label
to be 1.5”x2.5”.
-
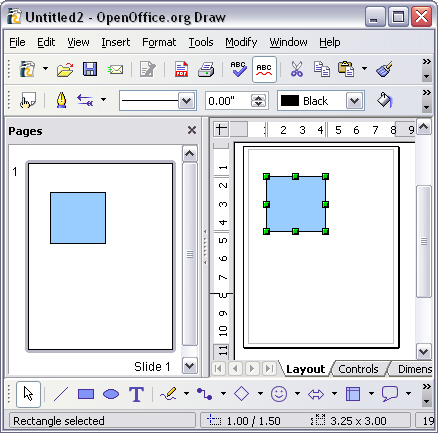
Click File > New> Drawing. (A new drawing window appears with the "Drawing" toolbar at the
bottom.)

-
Select the Rectangle  icon on the Drawing tool bar: icon on the Drawing tool bar:
-
On the canvas, click in the upper middle of the screen and drag down and
to the right. This will create a box. Don’t worry about the exact
position or dimensions—we will fix those shortly.
-
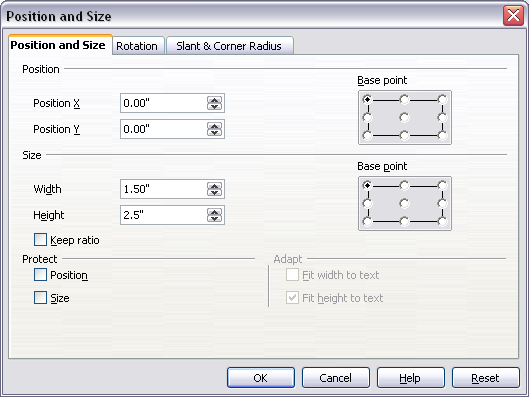
Right-click in the rectangle. In the menu, click Position and Size. (The "Position and Size" dialog box appears. (You can also click
"Format > Position and Size" or F4 to open the "Position and
Size" window. Note: A rectangle is created. The rectangle can be manipulated with the mouse
but it is more difficult to control the position and size.)
-
Click the  in the dialog box to the right of Position X. Select 0.00 (if it is not already selected). Repeat for Position Y. ("Position" is relative to the upper left-hand corner of the
printable area of the page.) (You can also highlight the current value
and type in the new value.) in the dialog box to the right of Position X. Select 0.00 (if it is not already selected). Repeat for Position Y. ("Position" is relative to the upper left-hand corner of the
printable area of the page.) (You can also highlight the current value
and type in the new value.)
-
Click in the dialog boxes to the right of Width and Height. Click the to set the Width to 1.5” and the Height to 2.5”. (You can also highlight the number and type the new number in
the dialog box.) Click OK. (A basic blue rectangle appears.)
-
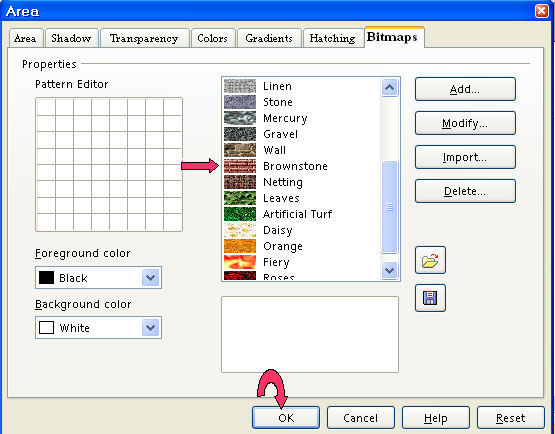
Right-click in the rectangle. Click Area. (The Area dialog box appears.) Click the Bitmaps tab, select Brownstone. Click OK. (The rectangle area changes from pale blue to a rock or brick pattern.)
-
Select the Rectangle icon from the drawing tool bar and create a second rectangle in the center
of the page. (There are now two rectangles on the page.)
-
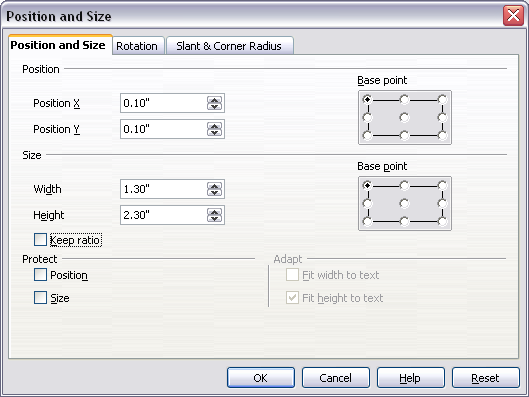
Right-click in the Rectangle. Click Position and Size (or press F4 to bring up the "Position and Size" window.) To center the second rectangle over the first with 1/10th of an inch smaller on all sizes, set the Position X to 0.1” and the Position Y to 0.1”.
-
To make the second rectangle smaller on each side by 0.1", click the
to set the Width to 1.3” and the Height to 2.3”. Click OK.
-
Right-click in the Rectangle and select Area. Select the Gradients tab. Select linear yellow/brown. Click OK. (You should see a golden box with brick trim.)
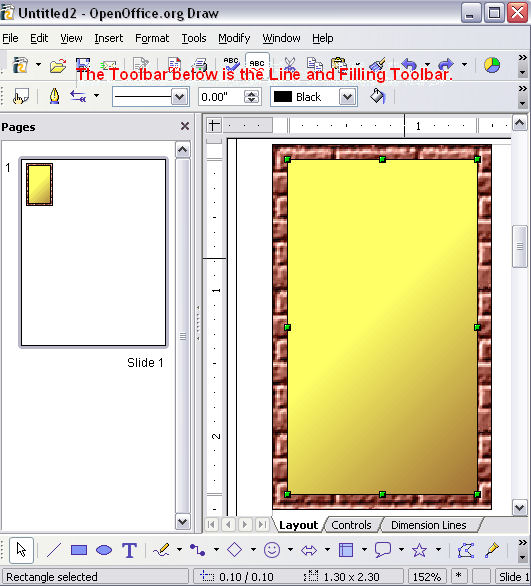
Adding Text
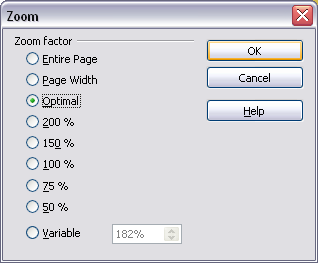
-
Click View > Zoom or click the Zoom  icon on your toolbar. (The Zoom dialog box appears.) Select the Optimal radio button and press OK. icon on your toolbar. (The Zoom dialog box appears.) Select the Optimal radio button and press OK.
-
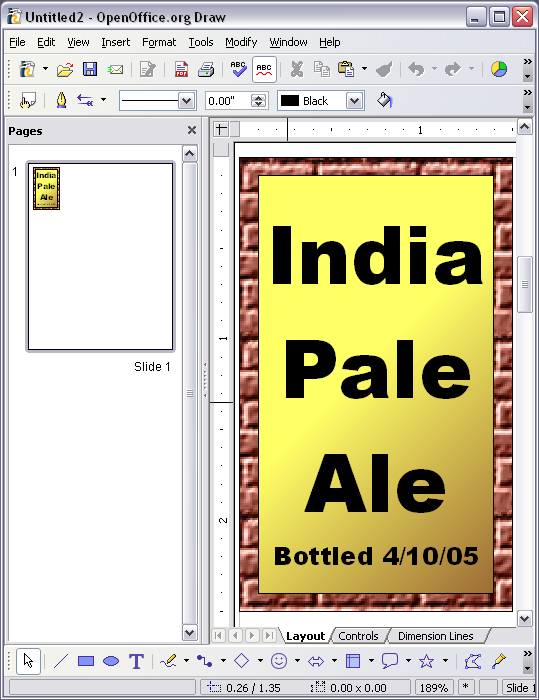
Click in the golden box to select the inner rectangle. Press F2 and enter some text, India <enter> Pale <enter> Ale and then press the Escape key. (Note: The "Line and Filling" toolbar changes to the "Text
Formatting" toolbar when you press F2. If you accidentally click inside
the rectangle and the "Text Formatting toolbar changes back to the
'Line and Filling" toolbar, just press F2 again.)

-
With the inner box still selected, Choose a font and a font size which
nicely fills the area. I chose Arial Black at 32 points.
-
I’d like to know when this brew was bottled, so I’ll add another
line of text. Press F2 (Your cursor is now inside the rectangle and the "Line and Filling
Toolbar" changes to the "Text Formatting Toolbar".) Press Enter. Type Bottled 4/10/05. However, this is too large. Let’s select only this newly typed line
of text. Hold down the Shift key and tap the left arrow until this entire line is selected. Change
the font size to something which fits nicely on the label. I chose font
size of 10, which happened to work for this label. Press the Escape key to exit the label.
Duplication
OK, that is one label, let's make a bunch of them.
-
First we’ll zoom out a bit. View > Zoom..., select Entire Page, and click OK. Now, we’ll need to make sure we have the Select tool  icon chosen in the Drawing toolbar: icon chosen in the Drawing toolbar:
-
Select both boxes. (Left-click in the center of the canvas and drag up
and to the left. As you drag, a ‘crawling ants’ dotted line
box covers the area your mouse covers, selecting all objects under it.)
-
Group the objects together. Click Modify (on the Menu Bar at the top of your screen.) Click the Group  icon (or press Alt+Ctrl+Shift+G) to group all the objects into one new object. (This new object can be
cut, copied, pasted, stretched, resized, or otherwise changed like most
other objects.) icon (or press Alt+Ctrl+Shift+G) to group all the objects into one new object. (This new object can be
cut, copied, pasted, stretched, resized, or otherwise changed like most
other objects.)
-
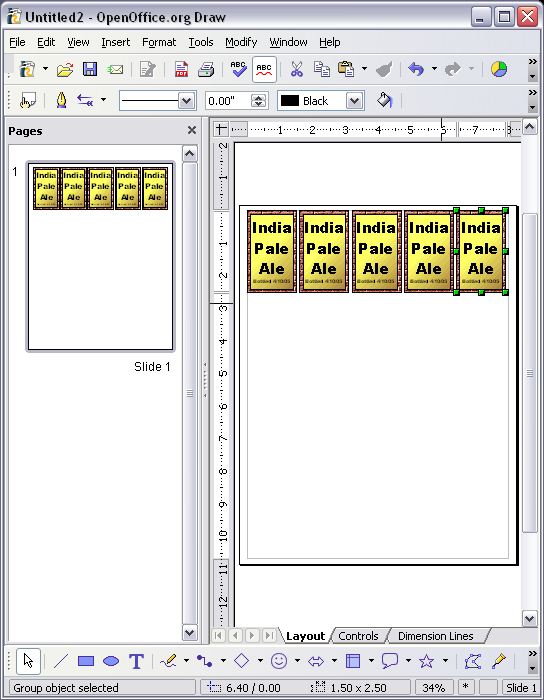
Now we’ll copy this one and paste one. Right-click in the label and
select Copy. Right-click in the label again and select Paste (there are now two labels at the same position). To reposition the top
label click in the label and click Position and Size. (If the menu does not appear with "Position and Size" as a choice, click outside the label and then right-click in the
label or press F4 to bring up the "Position and Size" window.)
I want there to be 0.1 inch between each, so I set the Position X to 1.6. Repeat the procedure, positioning each at 1.6” further to the right. (at 1.6”, 3.2”, 4.8”, and 6.4”).
-
Now we want to copy these down the page. Select all five labels, and again
click the Copy  icon (or CTRL C). Now click the Paste icon (or CTRL C). Now click the Paste  icon (or CTRL V) to paste all five new labels. icon (or CTRL V) to paste all five new labels.
-
These are layered over the original five, we need to move them down. Press
F4 to access the Position and Size dialog box. Set the Position Y to 0.1” greater than the height of the labels, or 2.6”. Repeat at 5.2” and 7.8”.
-
Now you have twenty labels. Print three copies, and affix to your beer
bottles.
NOTE
Tutorials are improved by input from users. We solicit your constructive
criticism.
Click here to E-mail your suggestions and comments
Edited by Al Benglen and Sue Barron
Create Labels 01/30/08
Last modified: 2008-04-30 01:42 UTC
    
|

